How to use Vagrant to deploy and run Virtual Machine in no time


Audio : Listen to This Blog.

This is a quick getting started tutorial for Vagrant to help you to get your foot in the door. The official documentation is fantastic at getting you started as well, but this article is geared more towards the absolute beginner and will cut directly to the chase on certain things.
What is Vagrant and why should you care?
To start with, I am sure this will be the first question to any beginner. To answer this, Vagrant is a tool to “Create and configure lightweight, reproducible, and portable development environments.” It is a highly efficient tool for managing virtual machines via CLI. This increases your team’s productivity and flexibility.
Here machines are provisioned on top of any of the virtualization tools, i.e. VirtualBox, VMware, AWS, or any other provider. Later you can use industry-standard provisioning tools such as shell scripts, puppet or chef, to automatically install and configure software on the machine.This simply means that you can get easy to configure and reproduce portable work environments whenever you require them.
While officially describing Vagrant as a tool for setting up development environments, Vagrant can also be used for a lot of other purposes by non-developers as well:
- Creating Demo Labs
- Testing configuration management tools
- Speeding up the work with non-multiplatform tools such as Docker
- In this article I will show how can we take Vagrant and use it to create a small virtual test lab which we will be able to pass on to our colleagues.
Requirements:
- A hard connection to the Internet.
- Putty needs to be installed.
- VirtualBox needs to be installed.
Steps to deploy VM
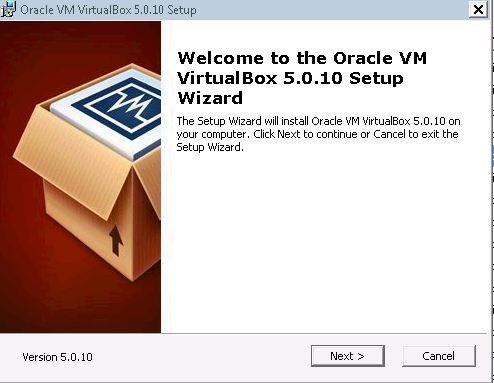
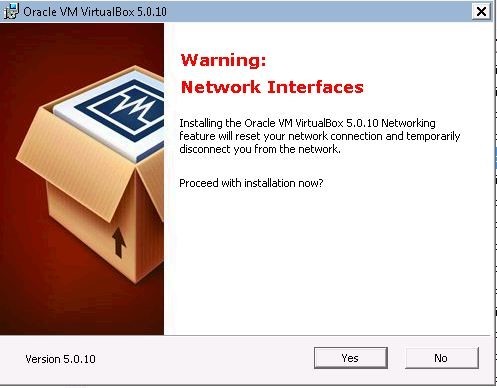
1. Download and install most recent VirtualBox for Windows: fromhttps://www.virtualbox.org/wiki/Downloads

2. Download and install the latest version for Vagrant fromhttp://downloads.vagrantup.com.
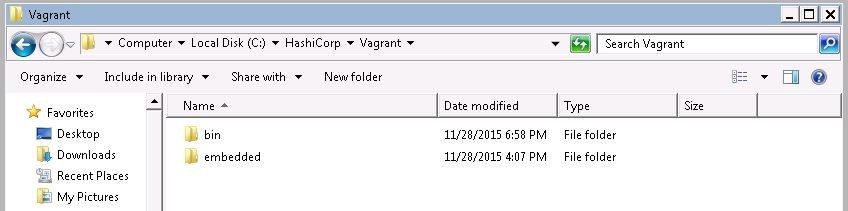
Installation is very simple and once the installation completes, this is what you will see in the C drive:
3. Setup Vagrant in windows:
Open the cmd and change the directory to C:\Hashicorp\vagrant\bin
Then type the following commands:
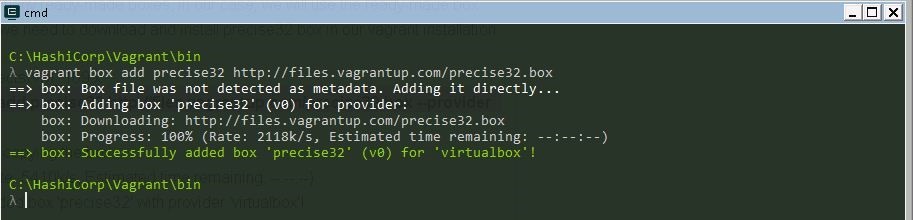
C:\HashiCorp\vagrant\bin> vagrant box add precise32 –provider virtualbox
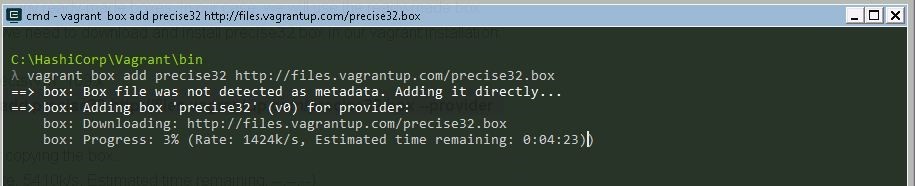
I have selected the ubuntu 12.04 for virtual box but based upon your need you can download different types of operating systems with the provider of virtual box or VMware.
You can find many boxes on this link: http://www.vagrantbox.es/
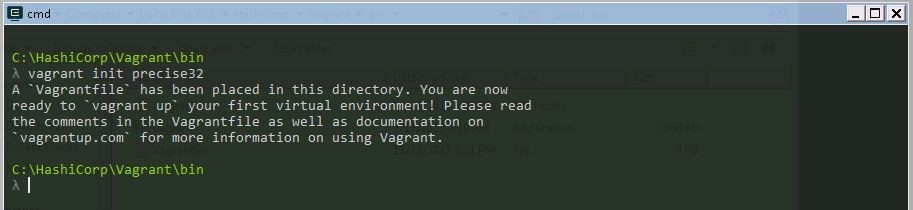
After successfully adding the BOX for the first time you need to initiate so that the vagrantfile will be created and you can open this file in notepad and you can customize Hostname, IP address , ssh ports etc., based on your needs.
C:\HashiCorp\vagrant\bin> vagrant init lucid32
After initiation, you can simply run the VM just by command vagrant up
C:\HashiCorp\vagrant\bin> vagrant up

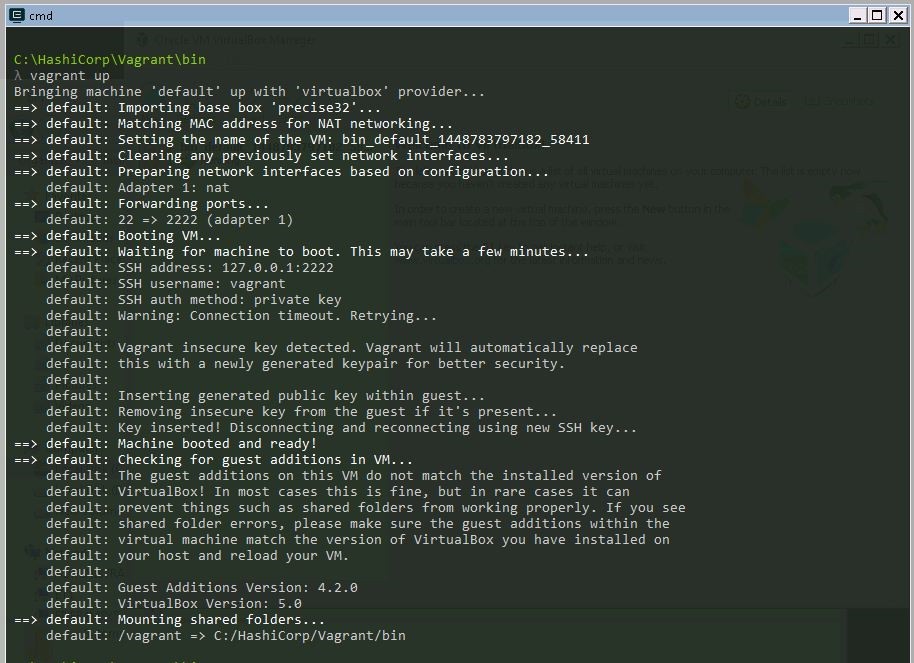
4. Now open the VirtualBox and see how the 3 line command deployed the ubuntu VM.
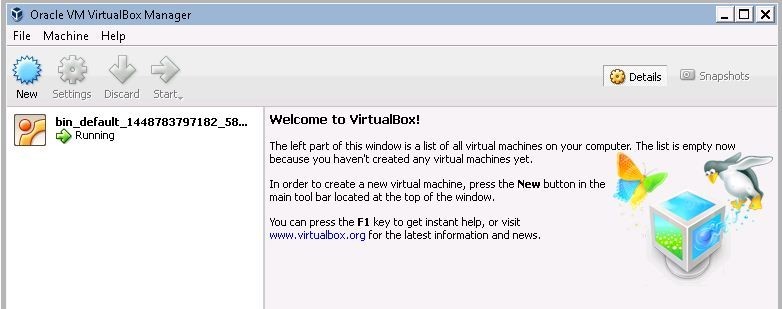
This is the magic of Vagrant.
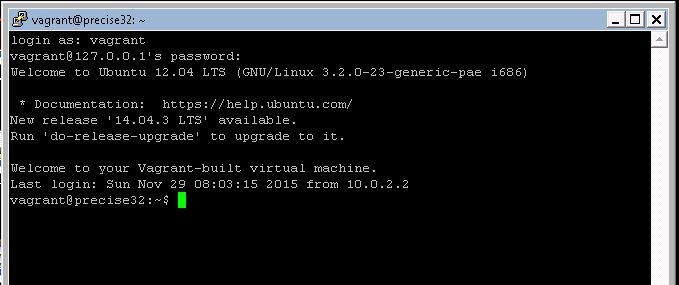
5. Now let’s connect to the ubuntu machine by accessing via SSH using putty.
You can download Putty
Open Putty and enter the following information. When I installed I got the IP address of 127.0.0.1 with port 2222

You will get Putty security Alert, click “Yes”

Enter username: vagrant
Password: vagrant
Welcome to your Vagrant-built virtual machine.
Just a few commands to suspend and shutting down VM:
Vagrant suspend
Vagrant resume
Vagrant halt
For more information please check out the vagrant documentation here:
1.http://www.vagrantbox.es/
2.https://atlas.hashicorp.com/